Success during your first hive inspection after installing a nuc isn't defined by spotting the queen; it's confirmed by the presence of her eggs. Opening your new colony for the first time often brings a mix of excitement and genuine anxiety. You might worry about accidentally harming the queen or feel uneasy about potential defensive behaviour from the bees. It’s a common hurdle, but one you can clear with the right preparation and professional BBWear protection.
We understand that establishing a thriving colony requires both precision and patience. This guide provides a professional roadmap for your first 2026 inspection, ensuring you move through the frames with confidence. You'll learn why the five to seven day window is critical, how to verify the queen's laying pattern, and what to look for as the bees draw out new comb. We've designed this process to be efficient and stress-free for both you and your bees. By following these steps, you will transform that initial uncertainty into a clear, actionable management plan for your British National Hive. Let's ensure your new colony is off to the best possible start.
Key Takeaways
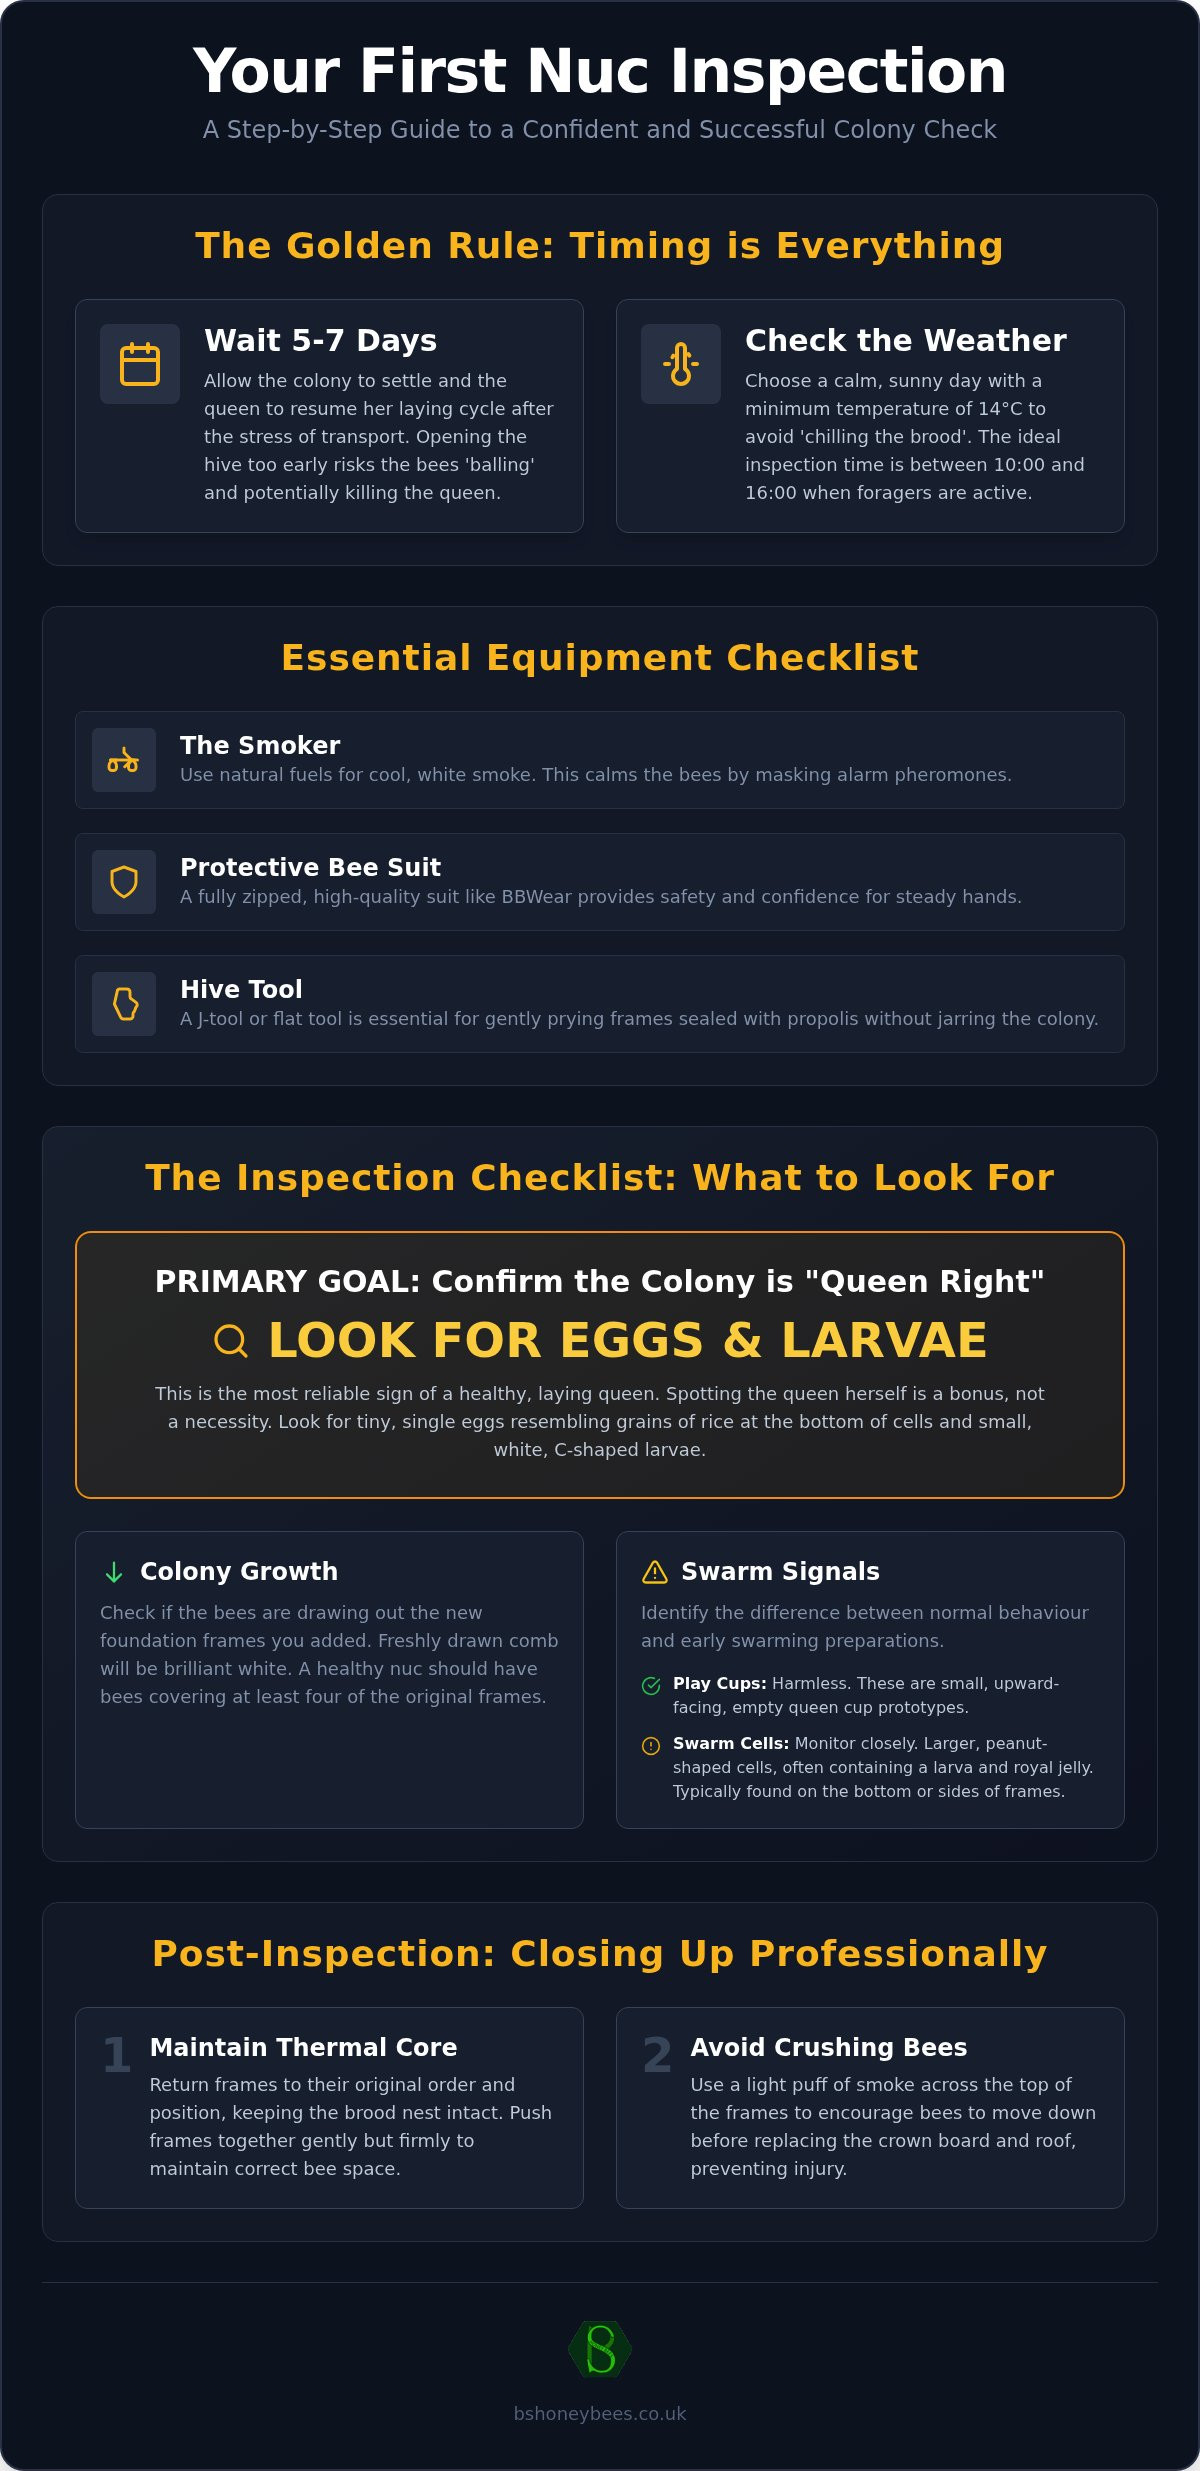
- Learn the "Golden Rule" of timing, ensuring you wait seven days for settlement and verify optimal UK weather conditions of at least 14°C.
- Master your first hive inspection after installing a nuc by prioritising the search for eggs and C-shaped larvae to confirm the colony is "Queen Right."
- Understand how to track colony growth by distinguishing between original nuc frames and the successful drawing of new foundation.
- Identify the difference between harmless play cups and genuine swarming signals to avoid common first-time anxieties.
- Discover professional techniques for closing the hive that maintain the brood nest's thermal core and protect your bees from accidental crushing.
Timing and Preparation: When to Open Your Hive
Mastering your first hive inspection after installing a nuc is a critical milestone in beekeeping. Patience is your most valuable tool during this initial week. The seven-day "Golden Rule" isn't a suggestion; it's a requirement for colony stability. This window allows the bees to orient themselves to their new surroundings and gives the queen time to resume her laying cycle after the stress of transport. Opening the hive too early risks "balling" the queen, a defensive behaviour where workers cluster around her and potentially kill her due to the perceived threat.
UK weather is notoriously unpredictable, so you must choose your moment carefully. Aim for a calm, sunny day with a minimum temperature of 14°C. High winds or sudden temperature drops can lead to "chilling the brood," where the larvae die because the adult bees cannot maintain the necessary 35°C internal hive temperature whilst the roof is off. Avoid inspecting during a heavy nectar flow or the peak mid-day heat. Ideally, perform your check between 10:00 and 16:00 when many foragers are out in the field, reducing the number of bees you have to manage inside the box.
The Essential 2026 Equipment Checklist
Success depends on having your kit ready before you crack the propolis seal. Don't find yourself halfway through a frame only to realise your smoker has gone out. Prepare for the following:
- The Smoker: Use natural British fuels like dried grass or hessian. You want cool, thick white smoke, not hot blue flames that can singe bee wings.
- BBWear Bee Suit: Confidence is vital for steady hands. Ensure your BBWear suit is fully zipped and the veils are clear. A secure suit prevents "bee panic" if the colony becomes flighty.
- Hive Tool: British National Hives often have frames tightly glued with propolis. Use a high-quality J-tool or flat tool to pry frames apart gently without jarring the colony.
Setting the Scene for Success
How you approach the hive dictates the temperament of the inspection. Always approach from the rear or the side to avoid blocking the bees' flight path. If you stand in front of the entrance, returning foragers will pile up behind you, increasing the tension. Start with a light puff of smoke at the entrance to disrupt the guard bees' alarm pheromones. Organise your workspace so your record book and spare frames are within reach. This ensures the hive remains open for the shortest time possible, preserving the thermal core of the brood nest.
The Step-by-Step Nuc Inspection Process
Executing the first hive inspection after installing a nuc requires a methodical approach to ensure the colony remains settled. Begin by removing the roof and placing it upside down on the ground. This provides a clean, stable stand for your crown board. Use your hive tool to gently pry up one corner of the board, puffing a tiny amount of smoke into the gap. Pause for a moment. Observe the bees. When Working the Hive, your movements must be deliberate and smooth. Sudden jerks or vibrations can trigger a defensive response, even in the most docile colonies.
Your primary goal is to create working space. Use the 'Outside-In' technique by first removing the dummy board or the outermost foundation frame. This creates a gap that allows you to slide the subsequent frames across. You must distinguish between the original nuc frames, which are typically darker and fully drawn, and the new foundation frames you added during installation. Without this space, you risk 'rolling' bees against the hive wall. If the queen is on that outer edge, she could be injured. Always handle frames vertically. Tilting a frame horizontally can cause heavy, nectar-filled comb to sag or result in the queen falling off the frame into the grass.
Managing British National Hive Frames
British National frames feature specific lugs that rest on the hive rebate. Use the hooked end of your hive tool to break the propolis seal on these lugs before attempting to lift. Once the frame is free, lift it straight up. As you work through the box, pay attention to the 'seam' of bees. This refers to the density of bees between the frames. A healthy nuc should have bees covering at least four of the original frames. When sliding frames back together, ensure you maintain the correct bee space. If the gaps are too wide, the bees will build messy brace comb, making future inspections difficult.
Breed Behaviours: What to Expect
The temperament of your bees significantly impacts your experience. Those who have sourced F1 Buckfast queens UK will notice a legendary calmness. These bees typically stay still on the comb, allowing you to inspect the brood without them flying at your veil. In contrast, some breeds exhibit 'runny' behaviour, where they scuttle toward the bottom of the frame. Distinguish between curiosity and aggression. A few bees flying near you is normal. However, sharp 'pinging' against your veil is a clear sign of defensiveness. If your colony feels flighty, ensure you are using a high-quality BBWear bee suit to maintain your composure whilst you work.
The First Inspection Checklist: What to Look For
Your objective during the first hive inspection after installing a nuc is to verify the colony's transition from a small nucleus to a growing hive. You aren't just looking at bees; you're looking at the biological indicators of success. Start by assessing the brood nest. Healthy larvae should be pearly white, glistening, and curled into a distinct C-shape at the bottom of the cells. If you notice brood that appears discoloured, slumped, or "melted," it may indicate a health issue that requires immediate attention. For a visual reference on what a healthy transition looks like, this video offers excellent footage of frame-by-frame colony development.
Next, examine the food stores. A thriving colony maintains a "halo" of nectar and colourful pollen directly above and around the brood area. This ensures the nurse bees have immediate access to the protein and carbohydrates needed to feed the developing larvae. Finally, check for comb expansion. In a British National Hive, you want to see the bees moving onto the new foundation frames you provided. If the bees are only clustering on the original five or six frames and ignoring the foundation, they may need light feeding with sugar syrup to stimulate wax production.
Spotting the Queen vs. Spotting Eggs
Beginning beekeepers often spend too much time hunting for the queen. Whilst seeing her is reassuring, her presence is guaranteed if you find fresh eggs. Eggs look like tiny, upright grains of rice at the very bottom of the cell. To see them clearly, stand with the sun over your shoulder and tilt the frame so the light reaches the base of the cells. If you see one egg per cell, your colony is "Queen Right." Don't panic if you see two eggs in a single cell during this first check. Prolific young queens often take a few days to find their rhythm and may double-lay until the workers catch up with comb building.
Expansion Signs in Your National Hive
Active wax secretion is a primary sign of a healthy settlement. Look for "white wax" or "virgin wax" on the top bars and the edges of the foundation. This bright, clean wax indicates the bees are consuming stores and expanding the nest. Determining when to add more space is a vital management skill. The general rule for a National Hive is to consider adding a second brood box or a super once the bees are covering eight of the eleven frames. Ensuring that high-quality honey bee nucs for sale UK transition successfully into full-sized hives depends on this timely expansion. If you wait too long, the colony will feel congested, which can trigger an early swarming impulse even in a new colony.
Troubleshooting: Common First-Time Panics
Adrenaline is a standard part of your first hive inspection after installing a nuc. It is easy to misinterpret normal bee behaviour as a crisis when you are still learning the visual cues of a healthy colony. The 'Play Cup' conundrum is a classic example. You might find several small, acorn-shaped wax cups on the frame edges. If these are dry and empty, don't panic. These are not a sign of swarming in a new nuc; they are simply the bees preparing for future needs. Only a "charged" cell containing a larva and royal jelly requires management action.
Temperament is another area that causes concern. If your bees seem uncharacteristically grumpy, consider the external factors first. UK weather changes rapidly; a drop in barometric pressure before a storm can make even the calmest Buckfast bees flighty. If you find the bees are "pinging" your veil or won't settle after light smoking, it's perfectly acceptable to close the hive. Aborting an inspection to try again on a calmer day is a sign of a disciplined beekeeper, not a failure. It protects the queen from accidental "balling" during a high-tension moment.
Identifying Queen Cells
Distinguishing between different types of queen cells is vital for your diagnostic framework. In a newly installed colony, you are more likely to see supersedure or emergency cells than swarm cells. Supersedure cells are often found on the face of the comb. They indicate the workers are unhappy with the current queen's performance or pheromone strength, perhaps due to transport stress. Emergency cells are built in haste from existing worker larvae if the queen is lost. If you suspect your colony has become queenless, consult mated queen bees UK experts to discuss introducing a new, high-quality queen to save the colony.
The 'No Eggs' Scenario
Opening a hive to find a total absence of eggs is a heart-sinking moment for any beginner. However, this doesn't always mean the queen is gone. Queens often stop laying during the vibration and confinement of transport. It can take several days for her to resume her cycle once settled in her new British National Hive. If you can see the queen and she is moving across the frames with purpose, she is likely just "off lay." If you cannot find her and see no eggs, wait 48 hours before checking again. This prevents you from making a premature management decision that could further stress the colony.
Ensuring your bees have a stable, high-quality environment is the best way to prevent these stresses. If you need to expand your apiary or replace damaged components, explore our selection of British National Hives and frames to provide your colony with the industry standard in housing.
Post-Inspection: Closing Up and Next Steps
Closing your colony with precision is just as vital as the initial opening. After completing your first hive inspection after installing a nuc, you must return the frames to their exact original positions. This maintains the thermal core of the brood nest. It ensures the bees don't waste energy reheating the cluster whilst they should be focused on expansion. Use your smoker to gently push bees away from the frame lugs and the top of the hive walls. This prevents accidental crushing. Crushing bees triggers alarm pheromones and creates an unnecessarily aggressive atmosphere for your next visit.
Deciding whether to feed is a key management choice. If the bees haven't drawn out the new foundation or if the weather forecast looks poor, provide 1:1 sugar syrup. This mimics a nectar flow and stimulates wax production. Accurate record-keeping is the hallmark of a professional beekeeper. Note the queen's laying status, the amount of brood, and the temperament of the bees in your 2026 hive log. These details are invaluable for identifying long-term trends and ensuring your colony remains on the right track for the season ahead.
Closing the Hive Safely
Replace the crown board by sliding it on slowly from one side. This gives the bees time to move down into the brood box rather than being squashed. Ensure your roof is secure. In the UK, unexpected gusts can easily dislodge a light roof, so consider using a heavy brick or a hive strap for added security. Clear any dropped wax or spilled syrup from the apiary floor immediately. Spills invite wasps and neighbouring colonies to start robbing, which can devastate a young, establishing nuc.
Planning Your Next Move
Schedule your second inspection for 10 to 14 days later. This provides enough time for the colony to show significant progress without leaving them so long that they become congested. Between visits, monitor the hive entrance from a distance. Seeing foragers return with heavy pollen loads is a fantastic sign. It confirms brood rearing is continuing successfully. As your colony grows, look ahead to your first harvest. Now is the time to order additional frames or pure honey jars to ensure you're prepared for the season's peak. Your journey from a small nuc to a productive hive is well underway.
Building Apiary Confidence for the 2026 Season
Your first hive inspection after installing a nuc marks the transition from observer to active colony manager. By prioritising the "Golden Rule" of seven days for settlement and verifying the presence of pearly white larvae, you ensure your bees have the best foundation for growth. Success in the apiary is built on methodical preparation and the right equipment. Whether you're checking for white wax expansion or managing frame lugs in your National Hive, staying calm and organised is your greatest asset. It's a process that becomes more intuitive with every visit.
As a specialist UK breeder, we provide the genetics and gear you need for a productive year. We offer nationwide delivery of live bees and professional BBWear suits to ensure maximum confidence during every check. If you're ready to expand your apiary with gentle, high-standard stock, secure your 2026 colony with our premium F1 Buckfast Nucs. Our Buckfast and Carniolan bees are selected for their docile temperament, making them the ideal choice for both hobbyists and professionals. We're excited to see your new colony thrive.
Frequently Asked Questions
How long should I wait to inspect after installing my nuc?
You should wait between five and seven days before opening the hive for the first time. This settlement period is vital for the queen to resume her laying cycle after the vibrations of transport. Performing your first hive inspection after installing a nuc too early can lead to the workers "balling" the queen because they feel threatened. Patience ensures the colony is stable and focused on building their new home.
What if I can't find the queen during the first inspection?
It is perfectly normal to miss the queen, especially if she isn't marked. Focus instead on finding fresh eggs, which look like tiny white specks at the bottom of the cells. If you see eggs, you know she was present within the last three days. There is no need to keep the hive open longer than necessary just to find her; the eggs are your proof that the colony is queen-right.
Do I need to feed my new nuc after installation?
Feeding is often necessary to help a new nuc expand into a full-sized British National Hive. Providing a 1:1 sugar syrup stimulates the bees' wax glands, allowing them to draw out foundation frames much faster. This is particularly important during the "June Gap" or if the weather turns cold shortly after you have installed your bees and they lack sufficient natural stores.
What should eggs look like in the honeycomb?
Eggs should look like microscopic, upright grains of rice positioned centrally at the base of the cell. In a healthy colony, you will usually see one egg per cell. If they are slanted or lying flat, they are nearing the three-day mark and will soon hatch into larvae. Use the sun over your shoulder to light up the bottom of the comb for a clearer view.
How much smoke should I use for a new nucleus colony?
Use smoke sparingly to avoid distressing the colony. A few light puffs at the entrance and a small amount under the crown board are usually sufficient for a nucleus colony. Over-smoking can cause the bees to gorge on honey or run off the frames. This makes it much harder to locate the queen or assess the brood pattern during your initial check.
Why are the bees not drawing out the foundation on the new frames?
Bees require a steady nectar flow and a high internal temperature to produce wax. If they aren't drawing out foundation, it usually means there isn't enough "income" or the colony isn't yet large enough to cover the new frames. Feeding syrup and ensuring the hive is well-insulated can provide the necessary energy and warmth to encourage the workers to start comb building.
Is it normal for a new nuc to have queen cells?
Empty "play cups" are common and don't necessarily indicate a problem. However, if you see cells containing larvae and royal jelly, the colony might be attempting to supersede the queen due to transport stress. Distinguishing between these is a key part of your first hive inspection after installing a nuc. If you find multiple charged cells, seek expert advice before taking any management action.
What weather is best for my first hive inspection?
The ideal conditions are warm, sunny, and calm days with temperatures of at least 14°C. Avoid inspecting during rain, high winds, or late in the evening when the foragers have returned. Sunny weather between 10:00 and 16:00 is best because many bees are out of the hive. This makes handling the frames significantly easier and reduces the risk of chilling the brood whilst the hive is open.